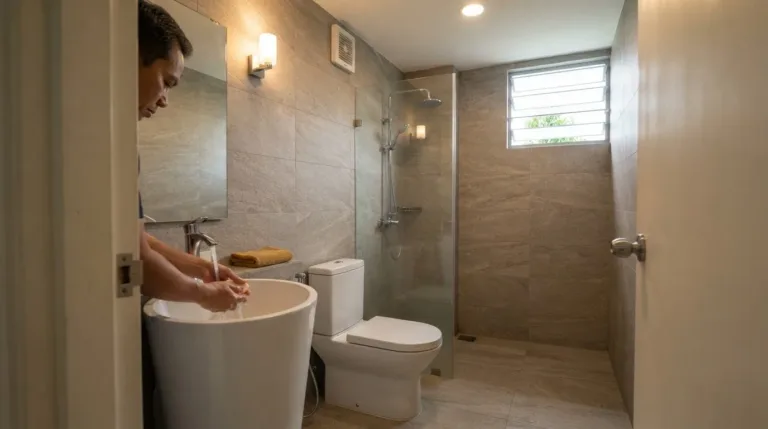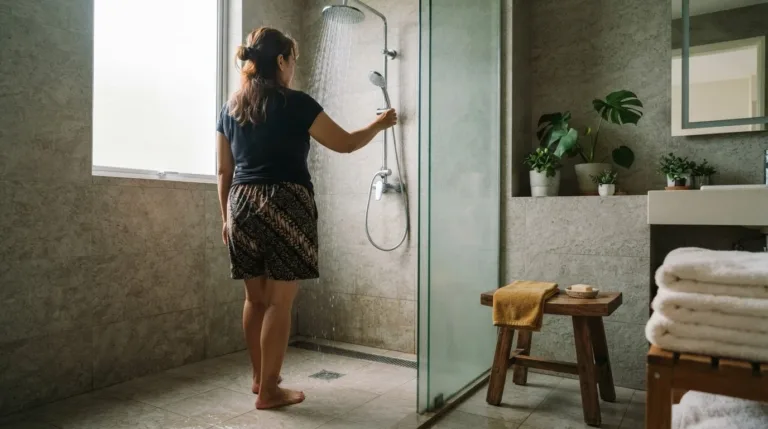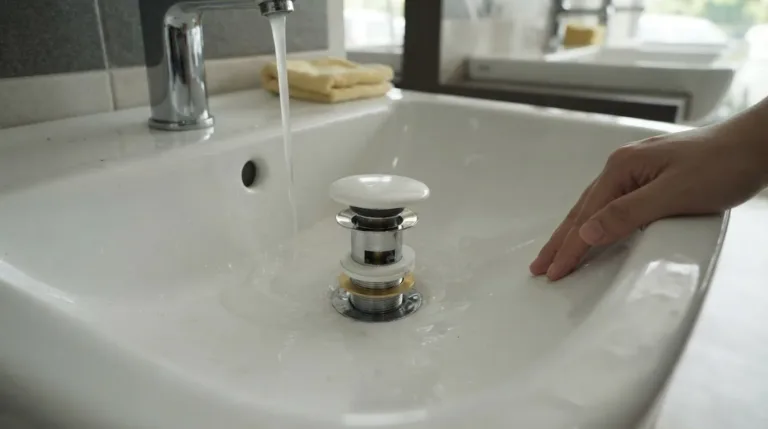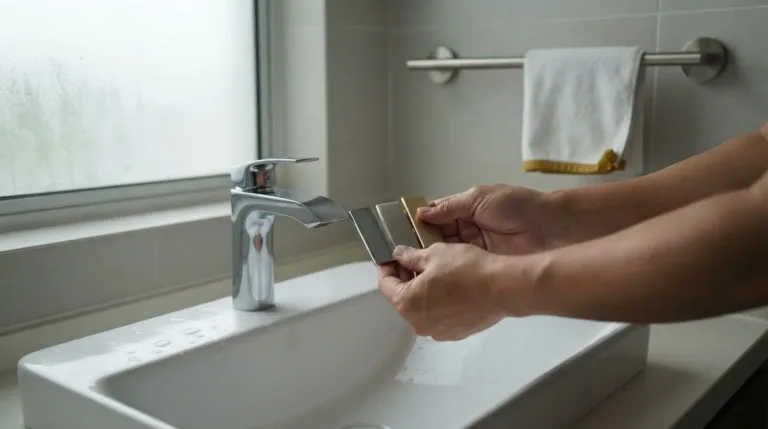
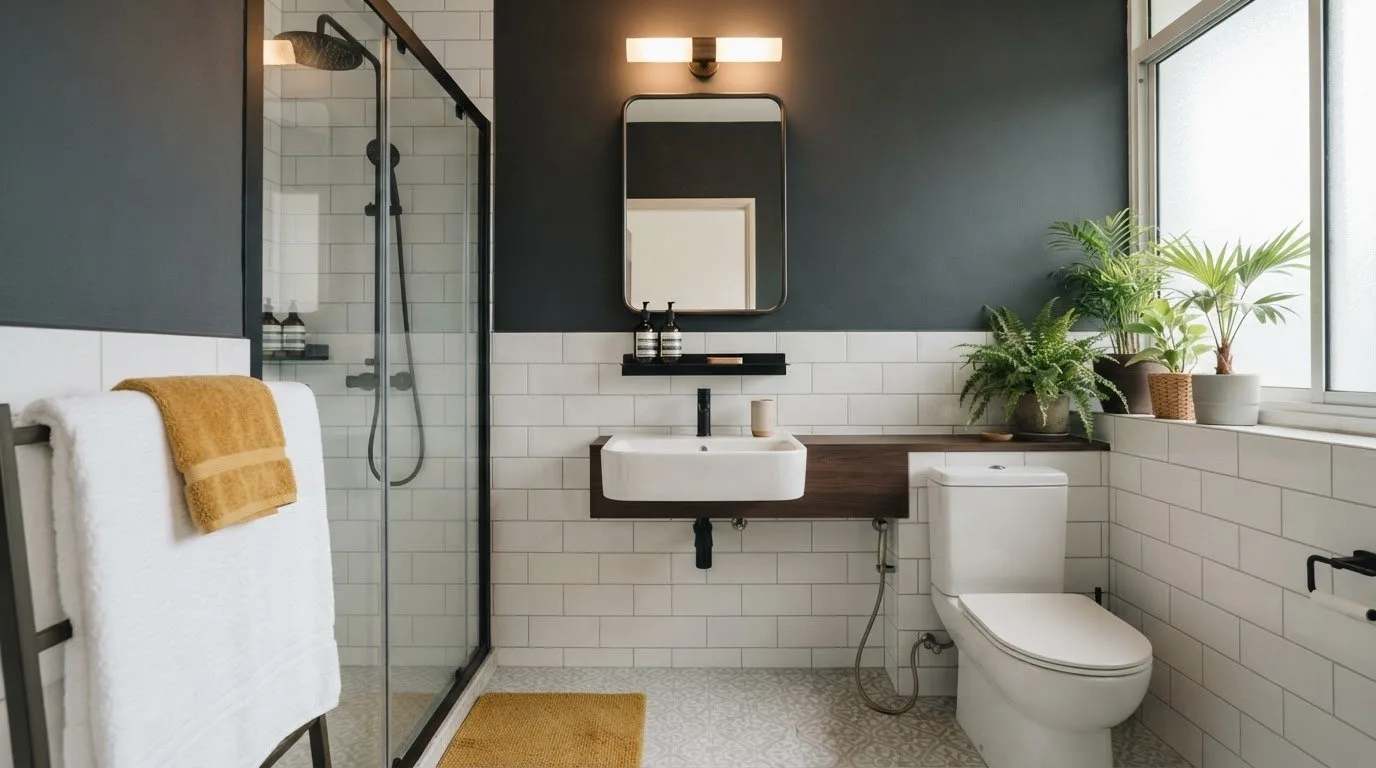
A brighter bathroom doesn’t require ripping out the tiles or replacing every fixture. The most practical DIY bathroom upgrade ideas start with the surfaces and details you already have: refresh the walls, update the mirror or hardware, and clear visual clutter. Small changes can give the room a bolder, more personal feel.
A bathroom makeover can sound like a major project, especially when dated finishes catch your eye every day. But you can make a noticeable difference while keeping the existing layout and core fixtures. Focus on changes that suit your space and daily routine.
Explore ways to brighten a small bathroom, add colour and contrast, and refresh tired details without replacing tiles or fixtures. You’ll also find guidance on when a simple DIY update makes sense and when a fixture change may better support your plans.
Key Takeaways
- Use a dark painted wall or patterned floor to add contrast, while keeping the rest of the palette balanced so the room feels intentional.
- Choose white paint and lighter finishes to help a compact bathroom feel more open; balanced vanity lighting can add clarity without making the space feel stark.
- Before replacing a seldom-used bathtub, consider how a walk-in shower could free up floor space and whether a clear glass partition suits your layout.
- Refresh what you already have: remove deteriorated caulk before resealing, and update small details rather than replacing sound tiles and fixtures.
- Match each change to your bathroom’s use and condition, so the finished space feels brighter and bolder as well as practical.
Adding contrast with dark paint or patterned floor tiles
A deep wall colour or patterned floor can give a plain bathroom more personality without changing its layout. Use contrast thoughtfully: a dark feature wall beside a pale basin or mirror creates a focal point, while repeating an accent colour in towels or accessories helps tie the room together. Keep other surfaces simple so patterns don’t compete for attention.
For a tile-inspired look, one bathroom design used ceramic tiles measuring 2 by 8 inches in four colours. That example shows how a small palette can create a bold pattern. If you’re painting instead, test your chosen shade on a small area first. Check it beside your existing tiles and under the bathroom’s lighting before covering a full wall.
Situation: The panelling, ceiling, radiator, and bath look tired, but their finishes are still usable. Action: Clean and prepare each surface, then choose paint designed for that material. Use moisture-resistant paint on bathroom walls and a coating made for radiators or baths on those surfaces. Result: A coordinated colour refresh can connect existing features without replacing them.
Leftover paint can make a refresh more resourceful. For example, use suitable wall-paint leftovers on a small panel rather than stretching them across the whole room. Don’t use wall paint on a bath, radiator, or vanity unless the label says it’s suitable. To repaint a vanity, remove the handles, clean the doors, lightly prepare the finish, and apply compatible paint. New handles can reinforce the contrast.
Do Malaysian strata or condo rules restrict DIY bathroom renovations? Rules can vary by building and type of work. Before changing surfaces, plumbing, or anything that could affect shared areas, review the house rules and consult the building’s management body.
When should I hire a licensed plumber or electrician? Use a qualified professional for work that moves plumbing, changes pipe connections, or alters bathroom wiring. Keep painting and other cosmetic tasks separate from work involving water or electrical systems.
What are the steps for replacing a bathroom vanity or sink? Measure the existing space, turn off the water, disconnect the supply and drain connections, and remove the old unit. Fit the replacement, reconnect the plumbing, and check for leaks before regular use.
How can I improve bathroom storage with DIY projects? A compact shelf can keep daily essentials within reach. Keep the vanity surface clear by grouping smaller items in a tray, or look into practical 3D-printed home improvement solutions from sites like 2d6.co.uk.
What safety precautions should I take when doing bathroom DIY, especially around electricity and plumbing? Keep electrical tools and connections away from water, isolate the relevant supply before starting work, and wear eye and hand protection when sanding or painting. Stop if you uncover a leak, damaged wiring, or an unstable surface.
Brightening a small bathroom with white paint and lighter finishes
In a compact bathroom, white paint can make the walls and ceiling feel visually connected. Pair it with pale finishes, such as a light-coloured vanity or simple mirror frame, to avoid harsh visual boundaries. If the existing floor is grey or the shower has marble-effect tiles, keep those finishes and repeat a light tone elsewhere. This refreshes the room without making a remodel depend on replacing every surface.
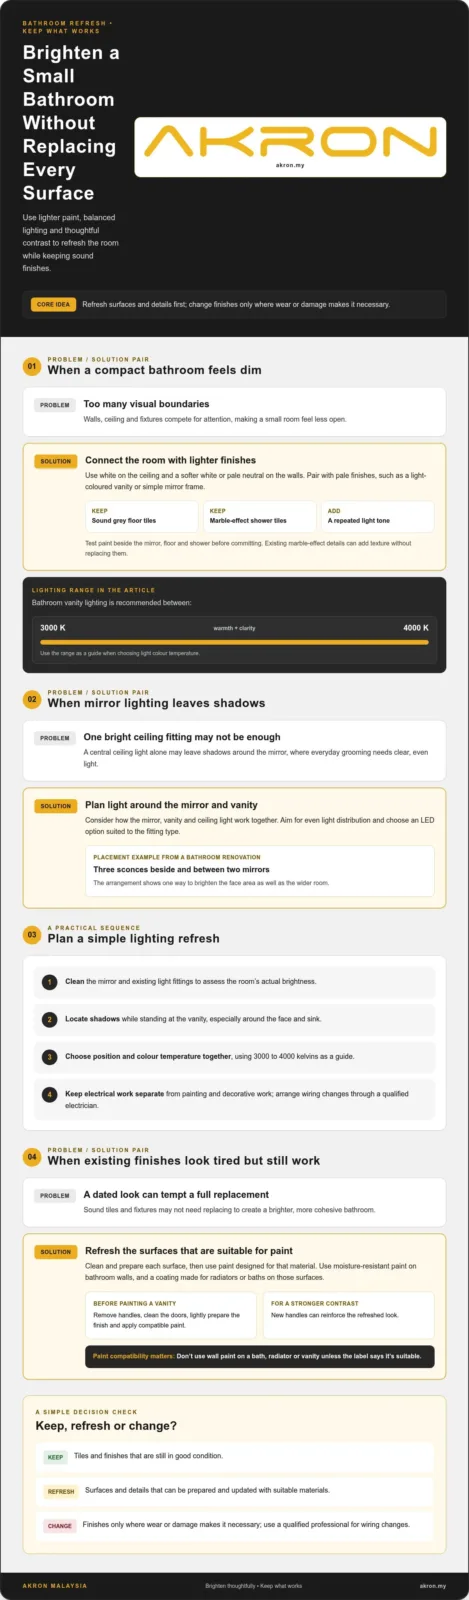
Situation: A small room feels dim because the walls, ceiling, and fixtures compete for attention. Action: Choose a clean white for the ceiling and a softer white or pale neutral for the walls. Test the paint beside the mirror, floor, and shower before committing. Result: A consistent palette helps brighten the room, while existing marble-effect details add texture.
Lighting shapes how white paint looks. Bathroom vanity lighting between 3000 and 4000 kelvins is recommended for a balance of warmth and clarity. A bathroom renovation used three sconces beside and between two mirrors, showing how light can be placed to brighten the face area as well as the wider room. In a master bathroom, consider how the mirror, vanity and ceiling light work together rather than relying on one central fixture.
LED bathroom lighting can be a practical way to update a room’s look. Before replacing a fitting, identify whether it’s a ceiling, vanity, or mirror light, then choose an LED option suited to it. Aim for even light distribution: a bright ceiling fixture alone may leave shadows around the mirror, while well-placed vanity lighting supports everyday grooming.
Use this sequence to plan a simple lighting refresh:
- Clean the mirror and existing light fittings so you can assess the room’s actual brightness.
- Mark where shadows fall when standing at the vanity, especially around the face and sink.
- Choose the light position and colour temperature together, using the 3000 to 4000 kelvin range as a guide.
- Arrange electrical work through a qualified electrician, and keep paint or decorative work separate from wiring changes.
Situation: A bathroom has dated finishes, but its grey floor tiles and marble-effect shower tiles are still in good condition. Action: Keep those surfaces, repaint the walls and ceiling in lighter tones, and improve the mirror area with balanced lighting. Result: The room looks brighter and more cohesive without removing features that still work. Start with paint and light placement, and change finishes only where wear or damage makes it necessary.
Freestanding tubs, mixed textures and styles, and updated lighting are common bathroom remodelling trends.
Replacing a seldom-used bathtub with a walk-in shower
If your household rarely uses the bathtub, replacing it with a walk-in shower may make the bathroom work better day to day. The change can free space for a double vanity or larger storage cabinet. First, consider who uses the room and whether a tub is still important for bathing children or meeting other household needs.
Situation: A narrow bathroom has an unused bathtub, while the toilet and basin already suit the household’s routine. Action: Plan a stand-up shower in the tub’s footprint, and assess the entry, shower position, and storage before choosing finishes. Result: The layout may feel more open, with space used for a shower that suits everyday routines.
A clear glass partition can help a bathroom feel bigger after a tub is replaced. It keeps the sightline open, unlike a solid divider that visually separates the shower from the rest of the room. Consider where the spray falls, how the door or opening works, and whether the glass is easy to reach for cleaning. Choose tiles that work with the existing floor and walls, or use the conversion to coordinate the shower area with the rest of the remodel.
Before making changes, compare the full shower plan with the existing bathtub layout. A walk-in shower changes how you enter the bathing area, where water lands, and how you use nearby space. Mark the tub’s outline and sketch the proposed shower, toilet, and storage positions. This simple exercise can show whether the new arrangement improves movement or simply trades one cramped spot for another.
Situation: The bathtub looks worn, but the household still uses it and the layout has no clear space for a shower. Action: Consider refinishing the tub instead of removing it. Prepare the surface and use a refinishing system suited to the bathtub material, following its instructions. Result: The bath stays in place while its appearance is refreshed, avoiding a layout change.
Refinishing improves appearance, but it won’t solve every problem. If the tub is damaged in a way that affects its use, or the bathroom needs a different bathing arrangement, compare repair and replacement plans before deciding. Consider the surrounding wall finishes: fresh tiling or coordinated accessories can make a retained bathtub feel more intentional. Small touches, such as a matching shower curtain or neatly arranged bath products, can also tie the updated area together.
For a conversion, separate cosmetic choices from plumbing and construction work. Decide on the shower position and layout first, then choose glass, tiles, and finishes that suit the space. This order keeps the focus on how the bathroom functions, not just on how the new shower looks.
Budget bathroom refresh without replacing fixtures or tiles
A bathroom can feel dated even when its fixtures and tiles still work. For DIY bathroom upgrade ideas that make a visible difference, focus on details that work together: wall colour, cabinet hardware, fresh caulk, and how you arrange daily essentials. In a rental, replace cabinet handles and keep the originals so you can restore them later. Choose one accent colour for towels or a bath mat to make the room feel intentional.
How much do DIY bathroom upgrades cost in Malaysia? The total depends on the surfaces you’re refreshing, their condition, the materials you choose, and what you already have. A paint-only update requires different materials from a tile coating or new accessories, so decide on the tasks first and plan your materials accordingly.
The best DIY bathroom upgrade ideas for beginners avoid plumbing and wiring. Clean the mirror, repaint a suitable wall, replace cabinet handles, or add a shelf for toiletries. Before starting, clear the work area and protect nearby surfaces. For shelves, locate the wall studs and use suitable fixings to support the intended load.
What are the easiest DIY bathroom upgrades for beginners? Start with cabinet hardware, painting a suitable wall, or securing a shelf to the wall. These cosmetic tasks refresh the room without moving fixtures or changing plumbing.
Situation: The caulk around a basin or bath looks cracked and discoloured. Action: Remove the deteriorated caulk, clean the joint, and apply fresh sealant according to its instructions. Result: The existing fixture gets a cleaner edge without being replaced.
To update tiles without removing them, first check that they’re firmly attached and undamaged. If they’re in good condition, clean and dry the surface, then use a tile coating intended for that material and follow the preparation and curing instructions. Test a discreet area before coating a larger section. Don’t use paint to conceal loose tiles or underlying damage.
How can I update bathroom tiles without removing them? Clean and dry sound tiles before applying a coating made for tiled surfaces. You can also refresh the grout or add a picture rail above shower tiles to change the room’s finish while keeping the tiles.
Situation: The grey floor tiles and marble-effect shower tiles are in good condition. Action: Keep them, refresh the wall colour, and coordinate smaller details such as hardware and bath textiles. A picture rail above the shower tiles can create a boundary for wallpaper, away from the steamy shower area. Result: The existing finishes feel more cohesive without a full renovation.
Choose updates based on your bathroom’s condition, not just current trends. To find a finishing detail that complements the surfaces you’re keeping, explore bathroom finishing options.
Akron Malaysia: Water Closet
Akron Malaysia is a practical next step if a cosmetic refresh leaves you ready to update the water closet itself. Choose a fixture that suits your bathroom layout and daily needs rather than replacing one that still works just for a new look. Akron Malaysia also offers wash basins, faucets, and showers to consider when planning a coordinated update.
Keep the changes that already work, such as refreshed walls or existing tiles, and focus product decisions on the fixture you want to improve. This connects the room’s appearance with its everyday function.
For product information or help with your next step, contact Akron Malaysia.
Make Your Next Bathroom Update Count
Choose the change that will make the room work better for you. Set a clear priority, such as a brighter feel, more useful storage, or an updated fixture. Then decide which tasks you can handle yourself and which involve plumbing or electrical work. A focused plan helps your DIY bathroom upgrade ideas feel connected, not like a collection of separate fixes.
If you’re ready to update a fixture, Akron Malaysia offers Water Closets, Wash Basins, and Faucets to consider as part of your bathroom plans. Choose products with your existing layout and daily routines in mind, so the finished space feels personal as well as practical.
Take the next step at your own pace. Contact Akron Malaysia for bathroom help and explore options for your update. A considered change can make your bathroom feel more like your own.
Frequently Asked Questions
Which bathroom upgrades give the biggest visual impact on a small budget?
Refreshing details that work together can make a small bathroom feel more pulled together. Clear the vanity, group daily items on a tray, and coordinate the shower curtain, hand towels, and bath mat in one accent colour. Replace mismatched or worn accessories only when needed. This creates a deliberate focal palette without changing the layout, and you can make updates gradually as items need replacing.
What are the best DIY ways to refresh bathroom lighting and mirrors?
Start by cleaning the mirror and light diffuser, then check whether the mirror reflects useful daylight or a blank wall. Repositioning a freestanding mirror can brighten a dim corner without electrical work. For a light refresh, check the fitting label and bulb type before replacing a bulb, and choose a tone suited to daily grooming. Leave changes to fixed wiring or fittings to a qualified electrician.