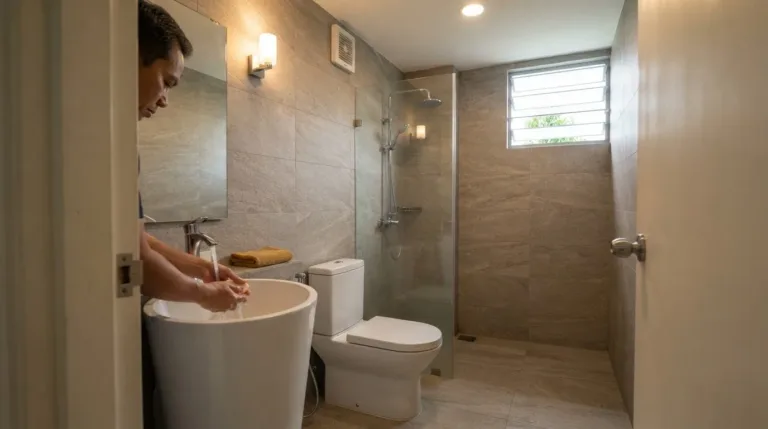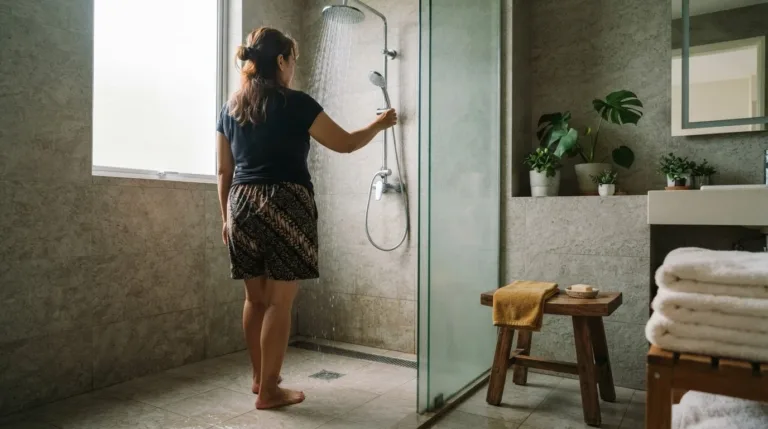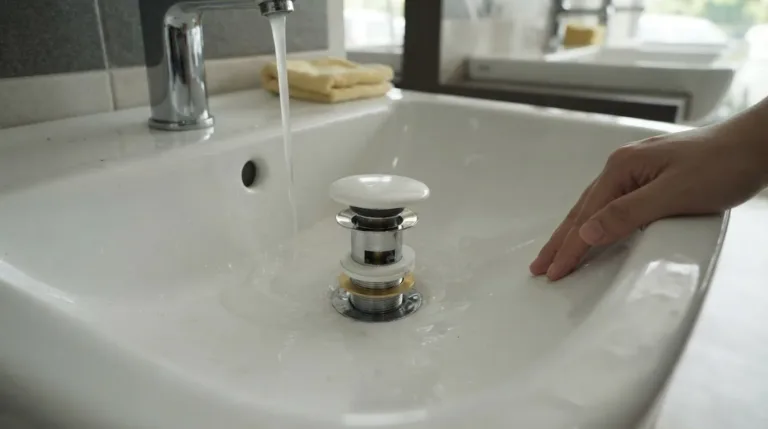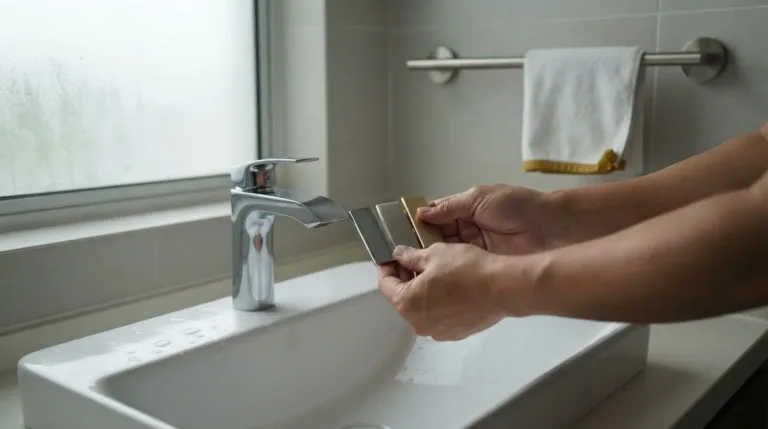
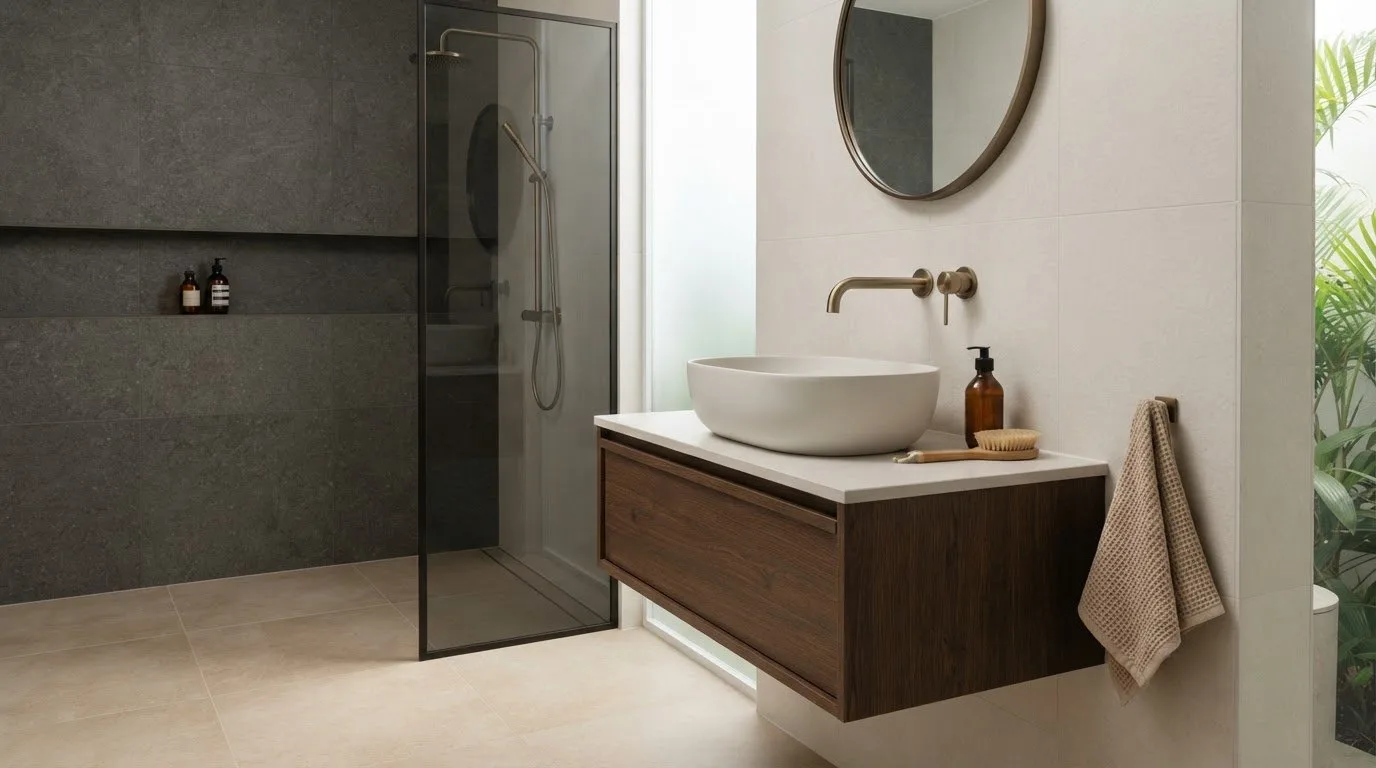
Exact colour matching isn’t the only way to make bathroom finishes work together. Choosing bathroom tiles to match fixtures means coordinating their undertones and finishes, then balancing the palette with the 60-30-10 rule: 60% dominant tile, 30% secondary tile and 10% accent tile. Keep floor and shower tiles in the same family, and use different sizes or finishes to add contrast.
It’s easy to focus on the basin, faucet or shower finish and treat the tiles as a separate choice. But a bathroom feels more considered when its fixtures, wall tiles and flooring share a visual thread. This guide explains how to choose tile colours, pair them with fixture finishes and create a coordinated floor-to-shower look without making every surface identical. You’ll also learn what to consider in wet areas, where a slip-resistant tile finish matters as much as colour and style.
Key Takeaways
- Coordinate tile undertones and textures with your basin, faucet and other fixtures for a cohesive room.
- Use the 60-30-10 colour balance to organise dominant, secondary and accent tiles without making every surface match.
- Choose tile material and finish for the room’s use, and consider durability, cleaning needs and suitability for floors.
- View tile samples beside fixture finishes in your bathroom’s lighting before settling on a palette.
- Bring floor and shower tiles together with a shared colour family, then vary their size or finish for interest.
1. Should Your Bathroom Floor Tiles Match Your Wall Tiles?
Your bathroom floor and wall tiles don’t need to be identical. Instead, aim for a shared undertone, finish or pattern. For example, pair warm cream walls with beige floor tiles, then repeat the cream in a basin surround. This visual link makes the fixtures and surfaces feel intentional without making every area look the same.
For different fixture styles, choose tile sizes and patterns that support their character. Large-format tiles suit contemporary chrome faucets and can make a small bathroom appear more spacious, while smaller tiles can bring detail around a traditional basin. A standard 12×12-inch tile is a versatile option. Keep busy patterns to one feature, such as a shower wall, and use solid tiles elsewhere.
Colour can connect fixtures to the room. White tiles can highlight the shine of chrome, while brass or gold finishes pair well with classic white marble. Matte black fixtures work with many tile colours, from pale stone-look shades to deep charcoal. If the faucet is the strongest accent, keep the surrounding pattern simple so the finish remains visible.
In a small bathroom, consider lighter-coloured tiles on the floor and walls. Large-format floor tiles can reduce grout joints compared with smaller tiles in a similar layout, creating a more continuous look. Balance them with a smaller accent area, such as a backsplash behind the wash basin. Choose porcelain tile for a refined, timeless appearance, and consider textured finishes where a tactile surface suits the design.
Bring the vanity into the palette before finalising the floor. Light wood pairs naturally with warm beige or cream tiles, while a dark vanity can stand out against pale grey or white. For a stone vanity, pick up a subtle tone from its veining. These combinations coordinate colour and material without requiring an exact match between every surface.
Grout and layout also shape the overall effect. Matching grout to the tile creates a cleaner, more seamless appearance, while contrasting grout makes each tile more noticeable. Using the same grout colour on floor and wall tiles can help tie the surfaces together. Straight layouts create a quieter pattern; diagonal layouts add movement and produce more offcuts.
Limit bathroom wall tiling to two or three tile types for a balanced look. For instance, use a simple floor tile, a complementary wall tile and one patterned accent. Before deciding, place tile samples beside the faucet, basin and vanity finish. View them together in the bathroom’s lighting, then check that the colours and textures work as a complete scheme.
2. How do you choose the color of bathroom tiles?
Start by considering how each bathroom area will be used, then choose colour and material together. In Malaysia’s humid conditions, porcelain is a practical option because it’s dense, long-lasting and highly water-resistant. Ceramic tile offers a versatile alternative for floors and walls, but its lower density can mean greater moisture absorption. Match the tile to its location rather than choosing by appearance alone.
Check the tile’s intended use before selecting a finish. PEI 1 tiles are for bathroom walls, while PEI 2 suits very light-use areas, such as powder rooms or guest bathrooms. For floors, PEI 3 is recommended for moderate residential use, and PEI 4 for family bathrooms or shared spaces with heavier daily use. PEI 5 is intended for commercial or public bathrooms subject to constant, heavy use.
Measure the bathroom’s length and width, then multiply them to estimate the floor area. Measure walls separately, accounting for openings and any areas that won’t be tiled. Calculate each surface individually, then combine the amounts for a clearer material estimate. Add 10-15% more tiles to allow for cuts, waste and breakage. A 45-degree layout creates more offcuts than a straight layout, so the pattern can affect the quantity needed.
Tile choice also shapes a renovation estimate, even without a single fixed figure. Material, size, layout, surface preparation and the area being tiled all affect the work involved. Large tiles may mean fewer grout joints, but they need a suitably prepared substrate and appropriate installation methods. Wet zones also call for waterproofing membranes and adhesives. Account for these requirements alongside the tile itself when planning your project—a principle often highlighted by leading villa construction companies in dubai when managing comprehensive luxury build budgets and fit-outs.
For floors and shower areas, choose tiles with a slip-resistant finish. Suitability varies by product, so follow the manufacturer’s technical information and guidance for the intended application. A wall tile isn’t automatically suitable for a floor. Highly textured finishes may take more effort to clean, while porcelain is generally low-maintenance; grout still needs routine attention.
Test colours in the actual room. Place tile samples beside your basin, faucet and other fixture finishes, then view them under the lighting planned for the finished space. Check them at different times of day, since light can change how undertones appear. Live with the samples for a few days before deciding. To coordinate smaller details too, browse bathroom accessories that can complement your chosen palette.
3. Coordinating tile choices with bathroom fixture finishes
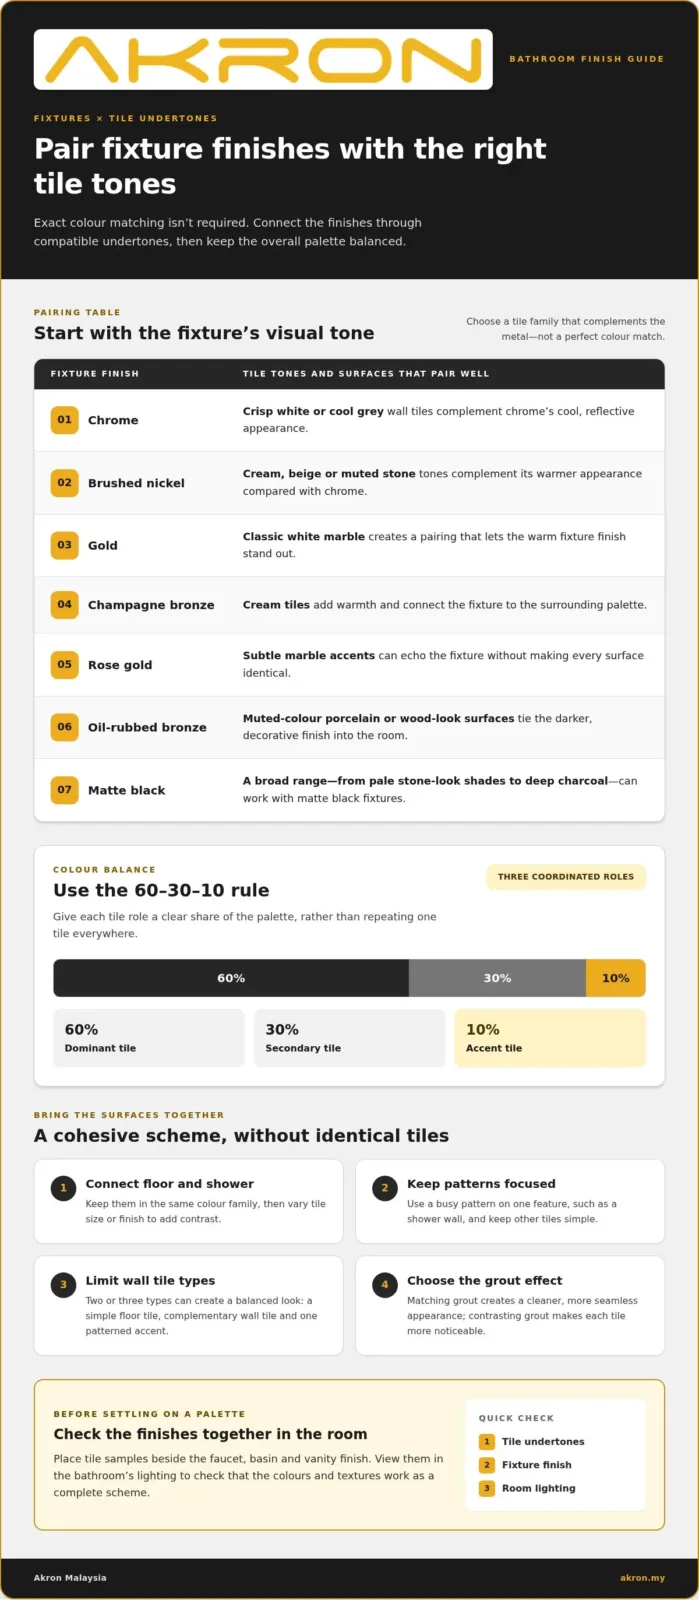
Start with the fixture finish that has the strongest visual presence, then choose tiles with compatible undertones. Chrome has a cool, reflective appearance, so it pairs naturally with crisp white or cool-grey wall tiles. Brushed nickel is warmer than chrome and can suit cream, beige or muted stone colours. These combinations create harmony without requiring exact colour matches.
For a warm, decorative scheme, pair gold fixtures with classic white marble tiles. Champagne bronze works with cream tiles to add warmth, while rose gold can be echoed in subtle marble accents. Oil-rubbed bronze suits muted-colour porcelain tile or wood-look surfaces. Each pairing connects the metal to a tile tone, rather than leaving the finish as an isolated detail.
Matte black fixtures create clear contrast against pale tiles or a coordinated look with charcoal and other dark shades. Against a light background, a black faucet or shower fitting becomes a defined accent. Against dark wall tiles, it blends in more quietly. Choose the effect you want, then repeat the black finish consistently across visible fittings.
Wood finishes need their own undertone check. Honey-coloured vanity wood usually sits comfortably beside warm cream or beige tiles, while grey-washed wood can suit cool stone shades. With a richer wood-look tile, muted porcelain wall tiles can keep the palette balanced. Avoid pairing orange-toned wood with strongly blue-grey tiles, as their undertones may compete.
Mixed fixture finishes can work when the larger bathroom elements still feel related. Keep the bathtub, sink and toilet materials consistent, then coordinate plumbing fixtures by finish and style. For example, a chrome faucet and shower can share a cool, modern character, while a warmer metal accent appears in a mirror detail. Repeating each finish helps the contrasts feel deliberate.
Match tile style to the room’s character, not just its metal finishes. Traditional brass fittings can sit comfortably with marble-look wall tiles, while sleek chrome often complements clean-lined, contemporary surfaces. A mosaic can add a decorative feature around a niche or basin, but keep surrounding tiles quieter. Contrasting finishes work best when one surface remains the visual focus.
Before settling on a pairing, place tile samples beside the actual faucet, basin finish and vanity material. View them together under the bathroom’s planned lighting, because warm bulbs can shift cream tiles and cool lighting can emphasise grey undertones. Check glossy and matte samples in the same spot. This simple comparison reveals whether the finishes complement one another or compete.
4. Coordinating bathroom floors and shower tiles
Connect the bathroom floor and shower without using identical tiles everywhere. Choose tiles from the same family, then vary their size or finish. For example, a calm stone-look floor can continue into the shower with smaller matching tiles. Their shared colour and surface character create continuity, while the change in format defines the wet zone within the wider interior.
A useful planning guide is the 60-30-10 colour rule. Give 60% to the dominant tile, often the floor, and 30% to a secondary tile, such as shower walls. Reserve 10% for an accent in a niche or feature area. This keeps a patterned shower wall from competing with the floor. Repeat a colour from the accent tile elsewhere to connect the surfaces.
Shower floors need particular attention to grip as well as appearance. Smaller tiles or mosaics have more grout lines, which can provide better grip underfoot. Choose floor and shower tiles for slip resistance, and check the manufacturer’s suitability guidance for each intended area. A tile that works on a shower wall isn’t automatically suitable for a wet floor.
Large-format floor tiles can make a bathroom look more open and reduce grout joints. They also need an appropriately prepared substrate and suitable installation methods. Before settling on a format, consider the drain position, floor gradients, doorway levels and cuts around edges. These details affect how the layout fits the room, especially where the shower floor meets the main bathroom floor.
Plan the layout around fixed features, not just the tile sample. A straight arrangement may create a calmer transition from floor to shower, while a change in tile direction can mark the shower area. Keep grout colour consistent across different tiles for a more unified effect. Matching grout to each tile instead gives individual surfaces a cleaner, less interrupted appearance.
In shower zones, waterproofing membranes and suitable adhesives are recommended before tiling. Include these layers in your plan alongside the visible floor and wall tiles. For a cohesive scheme, use a larger neutral tile across the main floor, a smaller tile from the same family on the shower floor, and a restrained accent in a niche. The practical takeaway: coordinate colour first, then adapt format and finish to each surface’s function.
Akron Malaysia: Water Closet
Akron Malaysia offers Water Closets to help complete a cohesive, practical bathroom scheme. If you’re coordinating tile colours around a new toilet, consider how its shape and finish will sit beside your floor and wall choices. A Wash Basin, Faucet or Shower can also contribute to the overall palette, with each fixture selected to complement the room’s surfaces.
Start with the tile undertones and fixture finishes you’ve chosen, then consider which bathroom products suit the look and everyday use of your space. This makes it easier to bring the design together without forcing every finish to match exactly.
Contact Akron Malaysia to discuss your bathroom product needs.
Make Your Bathroom Feel Like Yours
Your final choice doesn’t need to follow a trend or copy a showroom. Let your preferred colours, daily routines and the room’s natural light guide the details. A tile sample beside your chosen fixture can help you judge whether the scheme feels calm, warm or bold before you commit. That personal check turns choosing bathroom tiles to match fixtures into a design decision that reflects how you want the space to feel.
As you move from ideas to product choices, focus on the fixtures that will anchor the finished room. Akron Malaysia offers bathroom products to help you bring those choices together. For a closer look at options for your bathroom, explore Akron Malaysia’s bathroom products.
Take your time with the final pairing, trust the palette that feels right in your home and create a bathroom you’ll enjoy using every day.
Frequently Asked Questions
How do you choose the color of bathroom tiles?
Choose a tile colour that complements the bathroom’s existing finishes and the mood you want. For a calm scheme, connect the tile to a visible feature, such as a vanity top or door colour. For a stronger look, introduce a contrasting shade in a smaller area. When choosing bathroom tiles to match fixtures, compare samples with the actual fittings rather than relying on colour names alone.
Should Your Bathroom Floor Tiles Match Your Wall Tiles?
No, the floor and walls can use different tiles as long as the overall palette feels connected. For example, a plain floor can balance a wall with a subtle geometric pattern. You can also repeat one colour across both surfaces while changing the tile design. This gives each area its own character without making the bathroom feel visually disconnected.
How to choose bathroom tile colours to match chrome, matte black, gold, or brushed nickel fixtures?
Use the fixture’s visual tone as your starting point. Chrome pairs neatly with crisp whites and cool shades; gold works with creamy or marble-inspired colours. Matte black stands out against pale tiles or blends with darker ones. Brushed nickel can work with warm neutrals or stone shades. In a mixed-metal bathroom, repeat each finish in a few visible details so none appears accidental.
Which tile styles and finishes pair best with modern, traditional, or minimalist bathroom fixtures?
Modern fixtures suit clean-lined tiles with restrained patterns, while traditional fittings can pair with classic marble looks or decorative details. For a minimalist bathroom, choose simple surfaces and limit visual changes between areas. A small mosaic can add detail without covering a large wall. Let the fixture shape guide the tile style: ornate fittings need room to stand out, while streamlined shapes welcome subtle texture.
How to match bathroom tile undertones with fixture finishes and lighting?
Compare tile and fixture samples together under the lighting planned for the bathroom. Warm lighting can make beige tiles look richer, while cooler lighting can emphasise grey or blue undertones. For example, place a cream tile beside a brass finish and a grey tile beside chrome. Check the same combination near the mirror and in a darker corner to see how the palette changes across the room.
Are matte or glossy bathroom tiles better for coordinating with bathroom fixtures?
Neither finish is universally better; choose based on the surface and the look you want. Glossy wall tiles can reflect light and complement a polished faucet. Matte tiles offer a quieter contrast beside reflective metal. For floors and wet areas, assess slip resistance and the tile’s intended use rather than choosing by appearance alone. Pairing finishes can also add depth without introducing another colour.