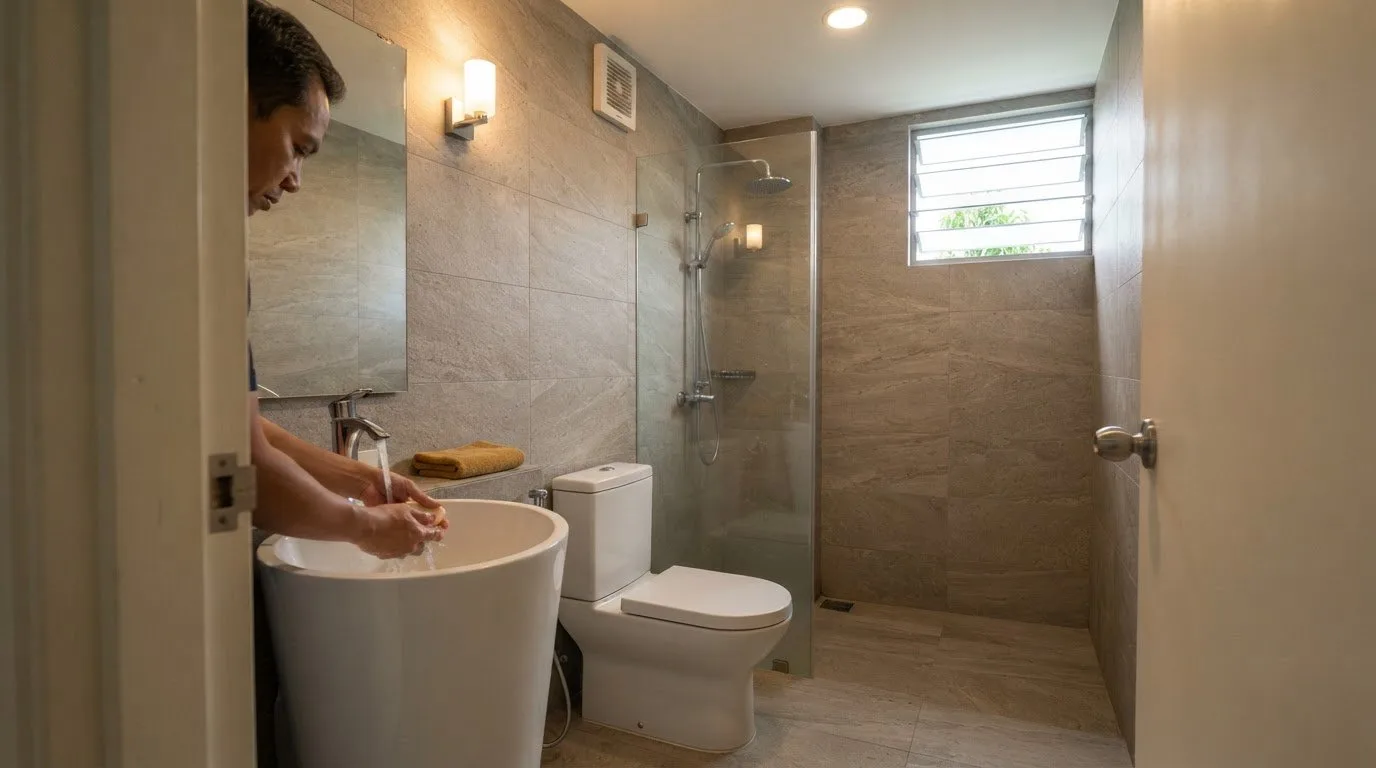
A cohesive bathroom doesn’t need every fixture to match. Start with a core palette, then repeat one or two finishes across the tiles and fixtures; a practical list of bathroom renovation mistakes to avoid also includes overlooking ventilation, layered lighting and fixtures that could be refreshed rather than replaced. These choices help your bathroom feel considered while keeping it comfortable to use.
It’s easy to focus first on colours and finishes, especially when picturing the completed room. But good design also depends on what works behind the scenes, from fresh-air flow to well-placed lighting.
Bring your style together without sacrificing everyday function. Coordinate finishes, plan ventilation and combine task, ambient and accent lighting. Then decide whether a fixture needs replacing or could be repaired or refreshed.
Key Takeaways
- Keep a bathtub in a small bathroom only if the layout still leaves comfortable room to move and use essential fixtures.
- Plan ventilation to help clear moisture and bring fresh air into the bathroom.
- Layer task, ambient and accent lighting to make the room practical and inviting.
- Before replacing a fixture, consider whether a repair or simple refresh can better suit your needs.
- Choose a core palette and repeat a small number of finishes to create a more cohesive look.
1. What is the hardest part of the bathroom renovation?
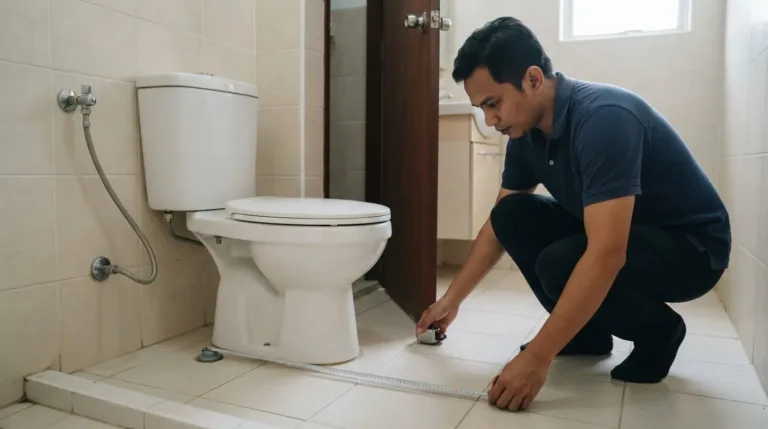
The challenge is coordinating the layout, budget and work sequence before changes become costly. In a small bathroom, you can keep a bathtub only if the toilet, shower access and walking space still work together. Mark the bathtub and other fixtures on the floor with tape, then test the route from the door to each fitting.
Measure the room, door swing and existing fixture positions before choosing replacements. A narrow wash area, for instance, may splash water onto the floor, while a toilet too close to a door can obstruct access. Record each fixture’s width and projection, then compare its footprint with the room plan. Don’t choose by appearance alone.
Plan storage around what you use. Drawers of different sizes can organize daily items, while a wall cabinet makes use of vertical space. List towels, toiletries and cleaning supplies before choosing storage. If you keep a bathtub, account for its footprint and plumbing access instead of filling the remaining space with bulky furniture.
Set a budget that includes materials, labour, subcontractors and tools for any do-it-yourself work. Keep a contingency for unexpected costs; one planning recommendation is a 10% buffer. A written scope should distinguish repairs from replacements, including tiles, faucets, shower walls and cabinetry. This makes changes easier to spot before they become costly.
Compare renovation contractors by reviewing a written, itemized scope, business details and payment stages tied to clear work milestones. Avoid relying on verbal promises or paying the full amount upfront. These safeguards can help you identify unclear offers and reduce scam risks.
In Malaysia, approval requirements depend on the property, renovation scope and location. For a strata home, obtain building-management approval before work starts. Ask the relevant local authority about permissions if planned changes affect the building or its services.
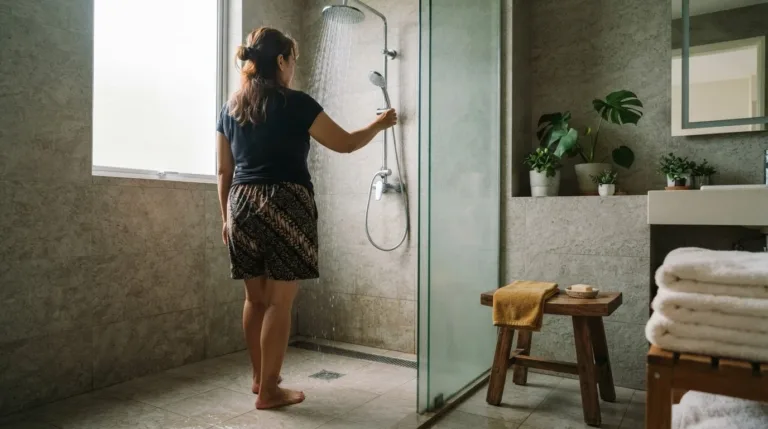
Specify the waterproofing system and application steps in writing, and arrange a water-retention test before tiles cover the treated area. Keep the test record with your renovation documents. The shower floor should be waterproofed and slope towards its drain.
Plan drainage by marking the drain, shower and other water outlets on the same layout before plumbing work begins. Confirm that water flows towards the drain and pipes connect to the intended fixtures before tiling conceals them. A sound drainage plan helps prevent disruption later.
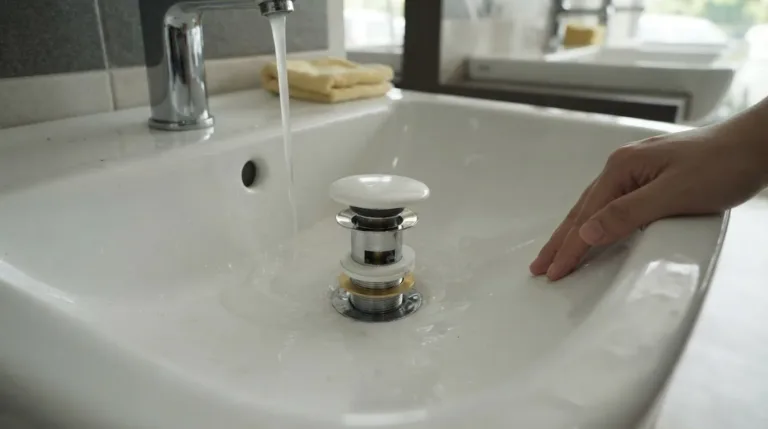
Before making the final payment, inspect for leaks, standing water, loose or cracked grout, uneven tiles and poor sealing around fixtures. Run each faucet, flush the toilet and test the shower drain. Photograph defects and record agreed corrections before signing off.
Schedule structural and plumbing work before tiling, so later changes don’t damage finished surfaces. Bathroom renovations can take 4-6 weeks, depending on the project; planning the sequence helps limit time without the room. A practical checklist is one of the bathroom renovation mistakes to avoid, especially when it catches layout, storage and repair decisions early.
2. Bathroom ventilation and extractor fans
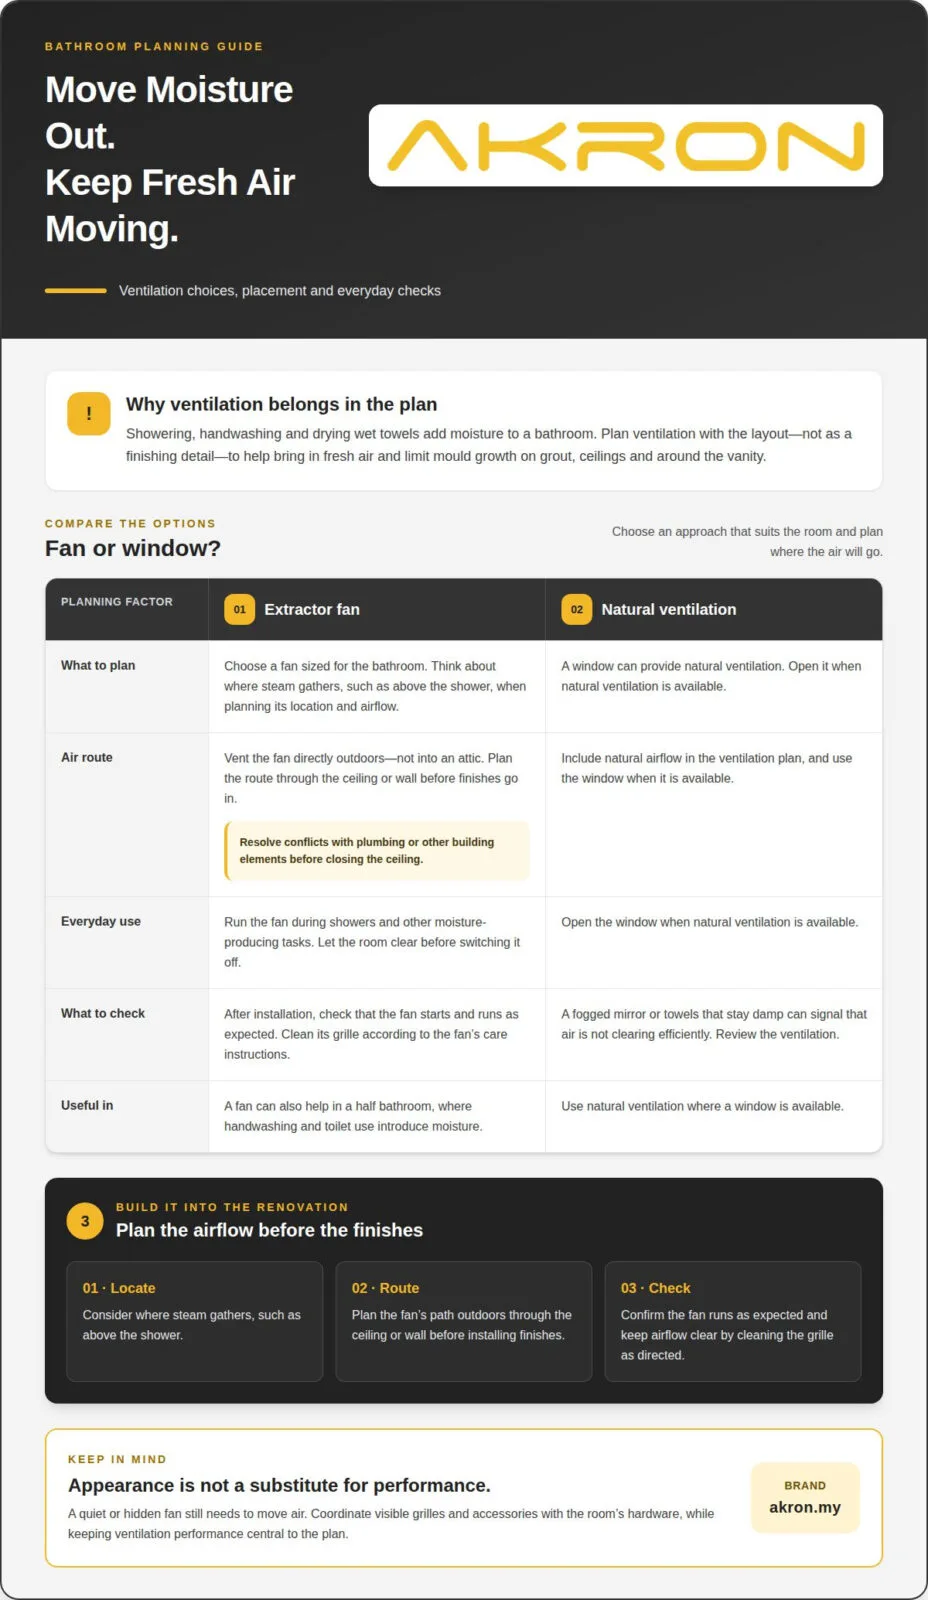
Even a beautiful bathroom can develop mould if moisture has nowhere to go. Showering, handwashing and drying wet towels all add moisture to the room. Plan ventilation alongside the layout, not as a finishing detail. Good ventilation brings in fresh air and helps limit mould growth on grout, ceilings and around the vanity.
Choose ventilation that suits the room: an extractor fan sized for the bathroom or a window that provides natural ventilation. A fan can also help in a half bathroom, where handwashing and toilet use introduce moisture. Consider where steam gathers, such as above the shower, and plan the fan location and airflow around that source.
Plan where the fan sends the air. Bathroom extractor fans should vent directly outdoors, not into an attic. Venting into an attic leaves moist air in an enclosed space instead of removing it from the home. Include the route through the ceiling or wall in your renovation plan, before installing finishes. If the route conflicts with plumbing or other building elements, resolve the issue before closing the ceiling.
Run the fan during showers and other moisture-producing tasks, then let the room clear before switching it off. Open a window when natural ventilation is available. A fogged mirror or towels that stay damp can indicate that air isn’t clearing efficiently. These signs don’t identify the cause by themselves, but they point to ventilation worth reviewing.
Keep dust from blocking airflow by cleaning the fan grille as part of your bathroom routine, following the fan’s care instructions. After installation, check that the fan starts and runs as expected. Even a quiet or hidden fan needs to move air; appearance and matching hardware can’t replace function.
Persistent moisture can mark paint, darken grout and encourage mould near sealant. It can also leave towels damp and make vanity storage feel musty. Pair a clear airflow plan with surfaces and storage suited to a wet room. Address moisture at its source rather than masking it with fragrance.
Finishes can still feel cohesive. Where practical, match visible fan grilles, towel hooks and other bathroom accessories to the room’s hardware. Coordinate those details with bathroom accessories, while keeping ventilation performance central to the plan.
3. Layered bathroom lighting
Plan bathroom lighting in three layers: task, ambient and accent. Each has a different purpose, so a single ceiling fixture may leave the mirror shadowed or corners dim. Start with activities and locations. Shaving, applying makeup and cleaning need useful light, while softer accent lighting can highlight tile texture or a feature wall.
Place task lighting around the mirror for a clear view of your face. Position mirror lights at face height to reduce shadows. A light above the mirror alone can cast shadows under the eyes and chin. If the mirror spans a wide vanity, plan how light will reach both sides instead of illuminating only the centre.
Use ambient lighting to make the whole room functional. A ceiling fixture can provide general illumination, but plan its position in relation to the shower, toilet and vanity rather than automatically placing it in the centre. A fixture directly above a tall cabinet, for example, may leave the basin area less useful. Mark light positions on the floor plan before finalising the ceiling layout.
Accent lighting adds depth without dominating the room. Use it to highlight a niche, textured tile or open shelf. Keep the feature in step with the interior palette: a warm glow can complement natural-looking finishes, while a crisp look may suit a simpler scheme. Treat accent lights as a supporting layer, not a substitute for mirror or room lighting.
Coordinate lighting with cabinets and reflective surfaces. A glossy cabinet door or large mirror can reflect a bright fixture and cause glare where you stand. Review planned positions from the doorway, vanity and shower entrance. This simple check can reveal awkward reflections before installation and help the bathroom feel balanced from different viewpoints.
Consider how each lighting layer works at different times. Bright task lighting helps with detailed routines, ambient light supports general use, and accent lighting can create a softer evening mood. If you plan separate controls, group lights by purpose so you can switch on only the layers you need. Confirm switch locations on the room plan, especially if the doorway and vanity are far apart.
Use the same logic as kitchen lighting: illuminate work areas first, then add overall light and visual detail. In a bathroom, the mirror and basin are key task zones. Review the complete plan alongside the finishes and fixtures before work begins. A cohesive scheme should make the room comfortable to use and keep every fitting visually connected.
4. Repairing or refreshing fixtures instead of replacing them
A dated finish doesn’t always mean a fixture needs replacing. Separate cosmetic wear from functional problems first. A vanity with sound drawers and no signs of damage may need fresh paint and new hardware, while a leaking faucet needs attention to its working parts. List each fixture, its condition and the change you want before deciding what stays.
Refresh what still works well. New cabinet handles, for example, can update a vanity without replacing the whole unit. Thorough cleaning may improve the appearance of fixtures with surface dirt, too. If a toilet rocks, leaks or is damaged, don’t decide by appearance alone. Consider its function, fit in the layout and condition before keeping it.
Keep permanent elements simple enough to last beyond short-lived trends. Neutral colours for major fixtures and tiles give homeowners more freedom to change towels, accessories or paint later. A contributor described a pink, three-piece bathroom suite from the 1960s, a reminder that a strong colour choice can define a room for decades. Use trend-led colours in details that are easier to update.
Check clearances before choosing replacements. Mark proposed fixture footprints on a floor plan, then consider the door swing, walking route and space around the toilet, vanity and shower. A larger basin may look appealing, but could crowd a narrow route or obstruct a door. Make sure you can reach each fixture comfortably and open drawers without obstruction.
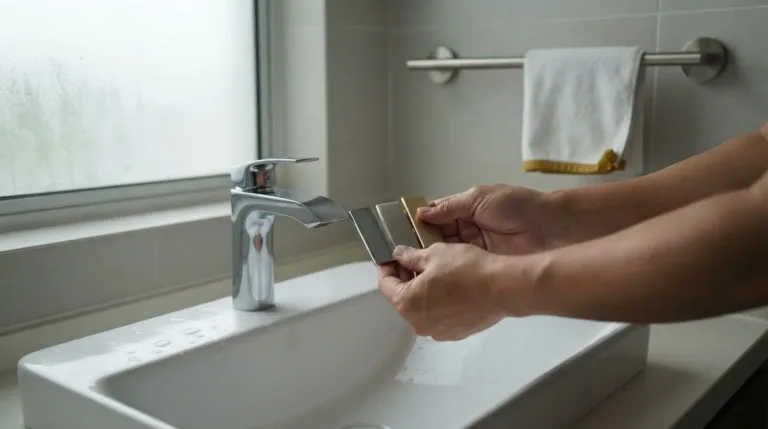
Choose finishes to suit the room’s daily conditions and your cleaning routine. Water, soap and regular handling affect faucets, handles and other hardware. Matching visible finishes can create a cohesive look, but don’t choose by appearance alone. Compare care requirements and consider whether each surface suits your household. A highly reflective finish, for example, may show water marks more readily than a less reflective one.
Before keeping an older fixture, inspect its visible condition and how it performs during normal use. Check for leaks around faucet connections, cracks in a basin, loose handles and damaged seals. A bathroom cabinet reported to be 50 years old shows that age alone doesn’t settle the question; condition and usefulness matter. Repair a specific fault where practical, but replace a fixture that no longer serves its purpose.
Bring the finishing details together with coordinated bathroom accessories. Choose pieces that complement your fixtures and finishes, and keep flexible accents available for future updates. This helps maintain a considered style without replacing every usable item during a renovation.
Akron Malaysia: Bathroom Accessories
Akron Malaysia offers Bathroom Accessories to help tie together a bathroom’s finishing details. If your plan includes replacing a fixture, its Water Closets, Wash Basins and Faucets offer practical choices to coordinate with your preferred style.
Consider these products once your layout and finish palette are taking shape. Choose fixtures for everyday use, then select accessories that complement their look. Akron Malaysia offers affordable, high-quality bathroom products that combine durability with stylish design, giving you options as you complete your renovation.
For help with your bathroom product enquiries, contact Akron Malaysia.
Make Your Next Bathroom Choice with Confidence
Before choosing another finish or fixture, write down how you want the room to feel during an ordinary day. A calm start, an easy-to-clean space or a more open feel can guide your design decisions. Use that aim to distinguish ideas that support your routine from distractions. Making disconnected choices without a shared purpose is one of the bathroom renovation mistakes to avoid.
As you shape the final look, consider how a Water Closet, Wash Basin and Faucet will work together in your chosen style. Akron Malaysia offers these bathroom fixtures, so you can explore options that suit your vision for the space. Your choices can be practical and personal.
Ready to take the next step? Contact Akron Malaysia about your bathroom and move closer to a space that feels considered, comfortable and distinctly yours.
Frequently Asked Questions
How do I choose a cohesive bathroom style?
Choose a visual anchor, such as a tile colour, natural-looking material or fabric, then repeat it in selected details. For example, carry a tile tone into the basin area and choose coordinating fixture finishes. Keep larger permanent surfaces visually calm and reserve bolder choices for items that are easier to change. This creates a clear design thread without requiring every surface or fitting to match.
How long does a typical bathroom remodel take?
A typical bathroom remodel takes 4-6 weeks. The work commonly moves from demolition and rough inspections to rough-in work and waterproofing, then tile, flooring, paint, fixtures, lighting and final adjustments. The sequence matters: completing structural and plumbing work before installing finished surfaces helps avoid damaging new tiles. Planning material selections and fixture positions before work begins also helps prevent pauses caused by late decisions.
What adds the most value to a bathroom?
For everyday value, focus on comfort, reliable function and finishes that are practical to maintain. A well-planned layout, effective moisture control and useful lighting make a bathroom easier to use. Choose fixtures that suit the space rather than simply following a trend. A basin that leaves enough room for handwashing, for instance, may be more useful than a larger design that crowds the surrounding area.
What is the hardest part of the bathroom renovation?
Coordinating related decisions is often the hardest part. Moving a shower or toilet can affect plumbing, drainage, floor work and final fixture positions. Decide early what must stay and what can change, then plan the work sequence around those choices. In a compact room, keeping a bathtub requires careful thought about access and movement, not just whether it fits on the floor plan.
What’s the best way to add storage without making it bulky?
Choose storage that works with the room’s footprint. A recessed shower nook can hold shampoo without adding a freestanding unit, while wall-mounted storage makes use of vertical space. Keep frequently used items close to where you need them, and avoid filling every wall with cabinets. Store shower products in the shower area, for example, and keep the basin counter clear for daily routines.
Which materials hold up best in wet bathrooms?
Choose materials suited to bathroom use and water exposure. For floors, prioritise slip-resistant surfaces, especially in shower areas where water collects. Consider tile and grout maintenance, as some finishes need periodic sealing and dark tiles can show limescale clearly. Choose materials to suit wet conditions and your cleaning routine, not appearance alone.